
01 April . 2025
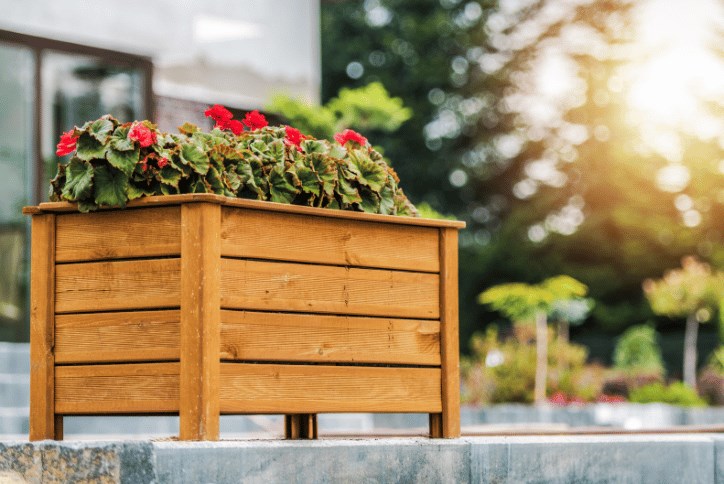
Backyard Garden DIY
The weather is getting warmer, and the lawns are coming alive, which means spring is officially here. If you are looking for a way to spend a little more time outside enjoying this beautiful weather, we have the perfect project for you.
April second is national Do-it-yourself Day, an with a few simple tools and materials, you can build your own elevated garden bed perfect for growing flowers, herbs or vegetables without taking up too much space in your yard!
To make this elevated garden bed, you will need:
2 – 12’ 1x6 cedar boards
1 – 10’ 1x4 cedar boards
4 - 4x4 boards cut to 30” long
2” wood screws
Steel Wire Fencing (It would be best to find the fencing with the smallest holes possible, such as ¼ inch holes.)
Landscaping Fabric
2 bags of soil
To begin, cut the boards to size as follows:
Cut the first 12’ board down to four 24” boards and one 48” board. Cut the second 12’ board down to three 48” boards. Finally, cut your 10’ board to 24” long pieces. You should get five of those from one board.
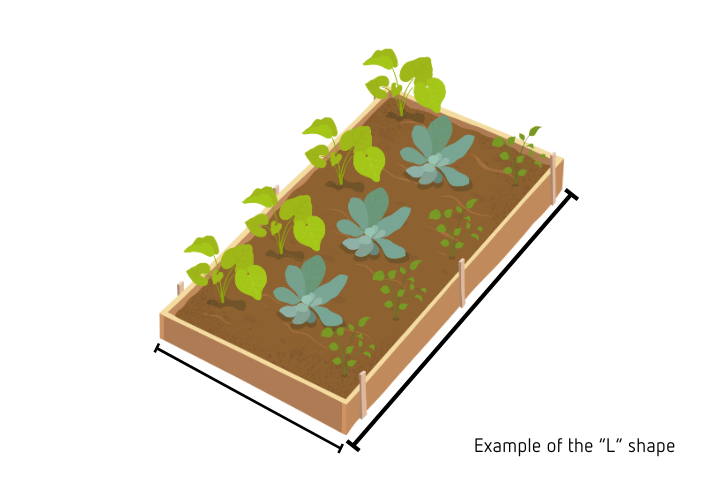
Using one of your 24’ boards cut from the 12’ 1x6 cedar plank and one of your 48” boards from you 1x6 cedar planks, create an “L” shape with the 6” side of the plank aligned vertically. Place one of you 4x4 boards in the inner corner and use your 2” wood screws to attach the planks. This thicker board will eventually be used as the leg that the planter stands on. Repeat this process, and you will be left with two “L” shaped pieces with the 4x4 base attached where the plants meet. Using these “L” pieces, slide the unattached edges together to form a rectangle. Attach. your third and fourth 4x4 boards in their respective corners. At this point you should see the beginnings of your planter!
Using your 24” 1x6 planks an your 48” planks, create a second layer of boards and attach them to the 4x4 legs in the same way. While the planter is still upside down, evenly space your 24” boards cut from the 10’ plank to the bottom of the planter and use your wood screws to attach them. The spacing on these does not need to be exact as they are just acting as support for the weight of the dirt and plants.

Flip your planter right side up and roll out your steel fencing over it. Use a wire snipper to cut this fencing to size. It is a good idea to cut out the corners of this fencing so it doesn’t bunch up around the legs. Tuck it in the bottom of the planter. If the wire fencing is a little big, just bend it upwards. For extra support, use a stapler and stable this fencing to the wood slats on the bottom of the planter.
In a similar fashion, roll out your landscaping fabric, cut it to size, and lay it over the wire fencing. There may be some overhang, but this is ok.
At this point, move the planter from your construction area to the area you would like it to be. It is about to get a lot heavier!
Making sure all the wire mesh is covered with the landscaping fabric and begin to fill it with dirt. Two bags of potting soil should be enough, but it never hurts to have a little extra on hand!
After filling your potter with soil, spray it down with water. It seems silly to water soil with no plants in it, but it will allow the dirt to settle into any large air pockets. When the soil has settled, check if you need to top it off with as much soil as necessary.
Your planter is built, filled and ready for whatever you what to plant!
While this DIY project is beginner friendly, just remember it doesn’t have to be perfect. The plants told us they won’t mind! Its all about spending time outside, enjoying the beautiful weather, and trying something new!
If you try out this DIY project, don’t forget to tag us in photos of the finished project!
Looking for a new home to be the perfect backdrop for your garden bed? Check out these quick move-in homes, with outdoor living options to enjoy the beautiful spring weather in North Carolina!